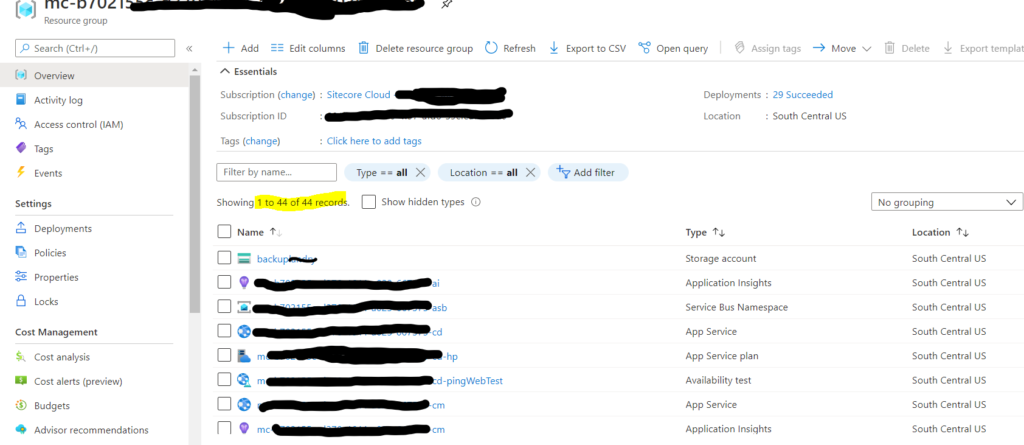
If you have not checked out the beginning of my journey with Sitecore Managed Cloud. Please start there to truly understand the basics. Now, if you already know your way around azure and your team has started the real work, you must be real itchy to get some code up there to your azure app services. Let’s roll up our sleeves and just do that.
First and foremost understand the app settings. With managed cloud, it is even more so important to ensure your patch config for settings has the right and expected values to not throw off things you would hardly imagine. Each one has significance and should be paid attention to. For instance, I had incorrect value placed for ‘role:define’ on my CM and it threw off indexing strategies, it was painful to debug. So, do pay attention to all the values. I am putting some samples and some guidelines, but, it all depends again on what your instance need to breathe and do so your right way.
| Setting | Value |
| role:define | Any of the below depending on role of the server: ContentDelivery ContentManagement ContentDelivery, Indexing ContentManagement, Indexing Processing Reporting Standalone Note – Though ContentManagement is a right value. Depending on your infrastructure set up, you may want to choose ContentManagement, Indexing |
| env:define | This is up to you really – depending on how your patch file usage. In my case, I like using them with {envnamerolename}. Example: PRODCD, UATCM etc., |
| search:define | Any of the below: Solr Azure In my case it was Solr |
| messagingTransport:define | AzureServiceBus Note – I took a peek at what Sitecore set up for us on this on Managed cloud and ensured we use the same. In UAT, I saw some issues on Marketing automation because I had this value incorrectly set up. |
| AllowInvalidClientCertificates | You would think this should be false. But, for some reason it threw off lot of things and Sitecore Managed Cloud team had set this up to be true, so, I left it as ‘True’ |
| useApplicationInsights:define | True with out this logging will not work properly. As you will realize on managed cloud, all logs tie back to Application Insights. So, it is super duper important to have this flag set correctly. |
| exmEnabled:define | no Turn this off if not using it. You can always turn this back up when you do choose to use EXM. |
| aspnet:RequestQueueLimitPerSession | 25 This value may need to be tuned if you see errors on your logs constantly. Good article |
Next step is to set up TDS Web Deploy to ship your code and items to your shiny new Sitecore Managed Cloud instances. You can set this up to be manual or trigger automagically when some one merges to specific branch on Azure Devops. In our case, we had lot of hands at a single given point of time due to super tight timeline, so, we kept this to be manual to ensure we know to make choices depending on the impact. Below are two links that really helped me get through this –
Step 1: Set up TDS project for Web Deploy. Follow the steps here, last step is optional and I do not remember doing that bit. You are good to move to step #2 as long as you see Web Deploy package and PS script in your TDS project bin folder. https://www.teamdevelopmentforsitecore.com/Blog/TDS-5-8-Local-Set-Up

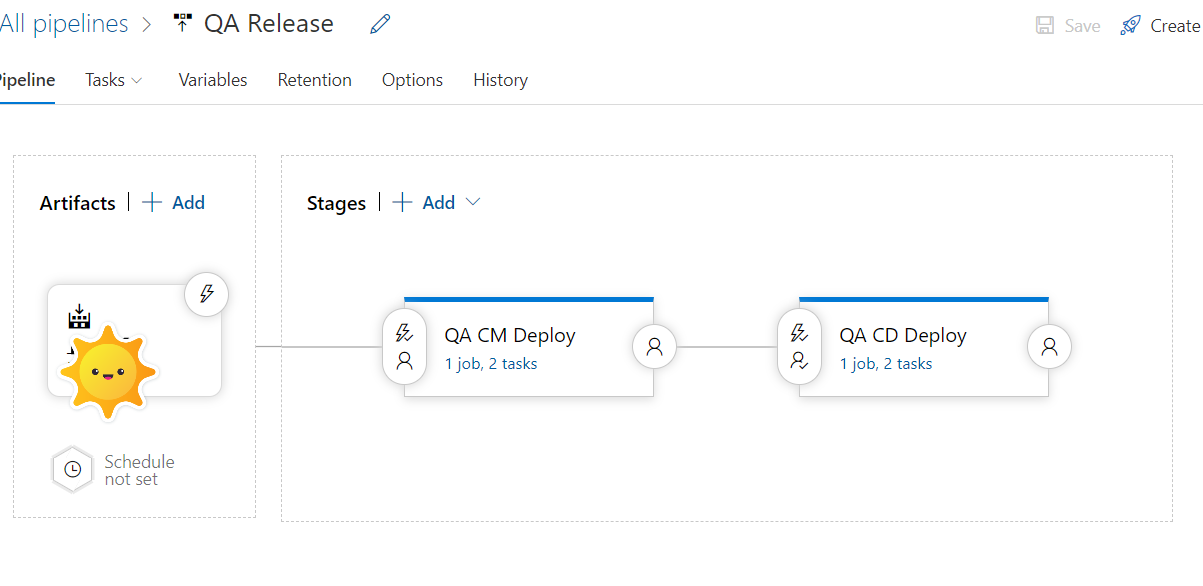
Step 2 – Set up and configure Azure build pipeline and release pipeline. Steps noted here are pretty thorough to get you started
https://www.teamdevelopmentforsitecore.com/Blog/TDS-5-8-Configuring-Azure-Build-Pipeline
https://www.teamdevelopmentforsitecore.com/Blog/TDS-5-8-Configuring-Release-Pipelines
Only catch is in release pipeline set up, you will need Azure subscription. This step is a must to connect to your app service of concern and actually deploy stuff. To get this, you have to do couple things in order.
Log a cloud support request titled – “Get Access to Azure – Service Principal”. Give details in regards to your resource group and this type of ticket is usually completed within minutes and you will get information such as below on your ticket.

Go to azure devops project and click on Project Settings down below on the left. It is hard to find, so, adding a screenshot.

Next click on Service Connections on left menu, you should now see an option to add a new one. Select Azure Resource Manager and pick Service Principal (manual option) and load it up with all the proper values from support ticket resolution comment. Below is a quick table of mapping that could help you.
| Azure Service principle | Value/Sitecore Support ticket label | Notes |
| Environment | Azure Cloud | Should be picked by default |
| Scope Level | Subscription | Should be picked by default |
| Subscription Id | Subscription Id | You can also get that from Publish Settings File – Subscription Id |
| Subscription Name | see notes | You can also get that from Publish Settings File – Subscription Name |
| Service Principal Id | Application(client)Id | This will be on the ticket – get from label titled as noted. |
| Credential | Service principle key | should be left option and should be default |
| Service Principal Key | Service Principle Password/API Key | This will be on the ticket – get from label titled as noted. |
| Tenant ID | Tenant ID | This will be on the ticket – get from label titled as noted. |
Refresh your azure subscription section on release pipeline configuration and you should now see the new option. Select it and now you should see familiar options of App Services on your resource group under App Service Name field. Select that as well and you are pretty much golden. Follow rest of the steps on links noted above and test your build and release pipelines.
If you were lucky like me and you did all your steps right, you should now see your sweat and blood on Sitecore Managed Cloud instance.

Next up, we will see some ways to protect your code and items, boundaries as to what are you responsible for and what is Sitecore responsible for, debugging tricks. Stay tuned!


